Overview of Local Slab Installation Services
This page explains slab installation services and helps property owners compare local contractors and service providers.
- - Residential property owners seeking durable and professional slab installation services for driveways, patios, or walkways.
- - Commercial property managers in need of reliable local contractors for large-scale or ongoing slab projects.
- - Homebuilders or remodelers looking to connect with experienced service providers for quality slab setup and foundation work.

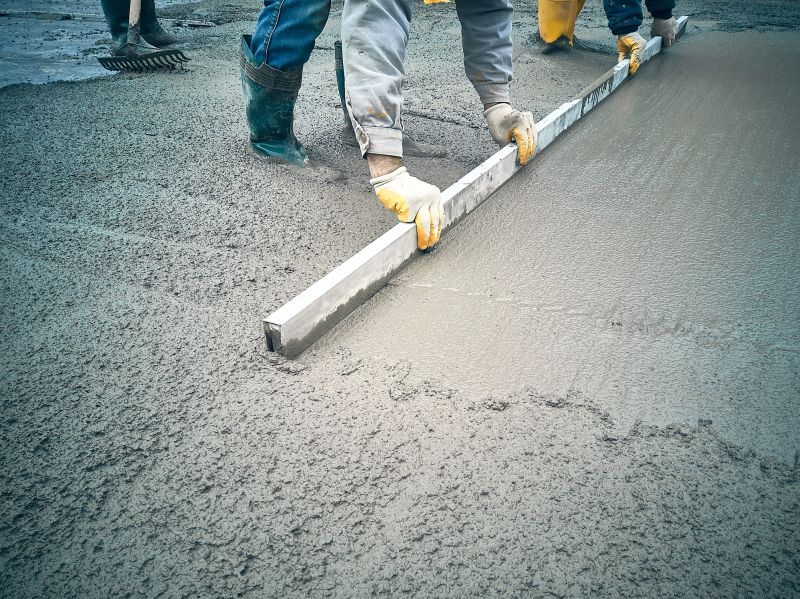
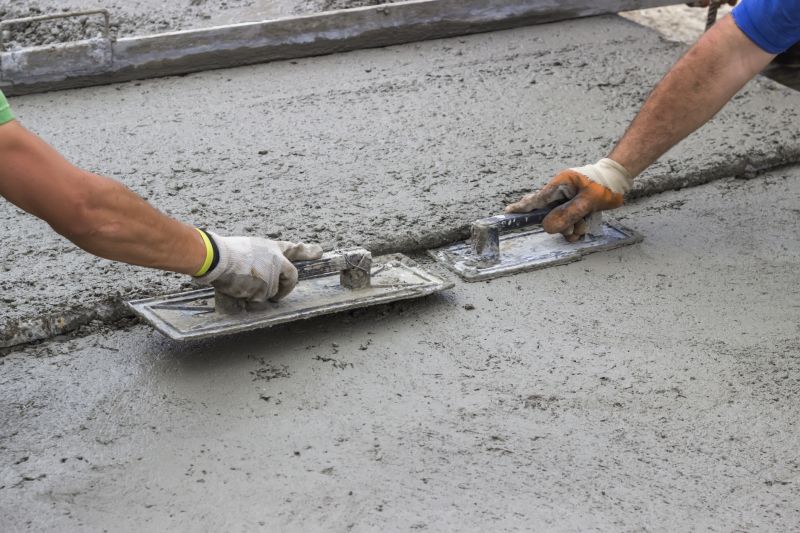
Slab installation services involve preparing the site, leveling the ground, and laying durable concrete slabs that serve as foundations for patios, driveways, walkways, and other surfaces. Property owners often seek assistance from local contractors who specialize in this work to ensure proper preparation and precise installation. These professionals handle everything from site assessment to the final placement, helping to create stable and long-lasting surfaces that enhance the functionality and appearance of outdoor spaces.
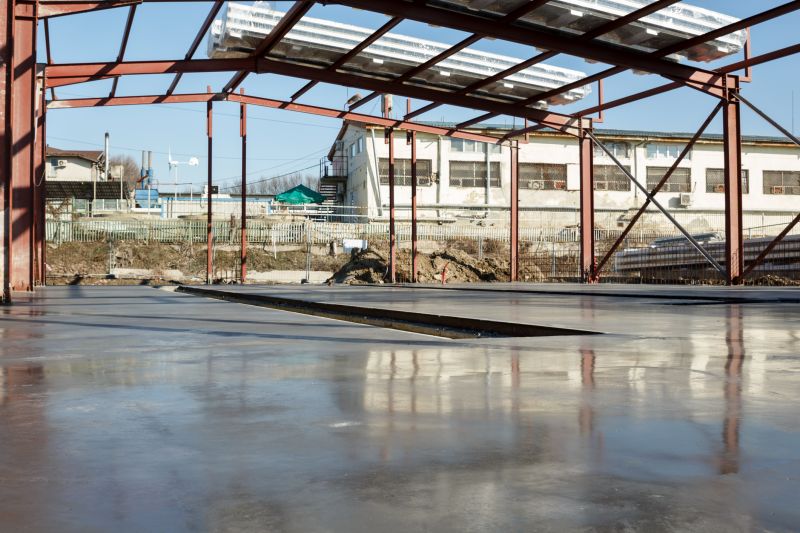
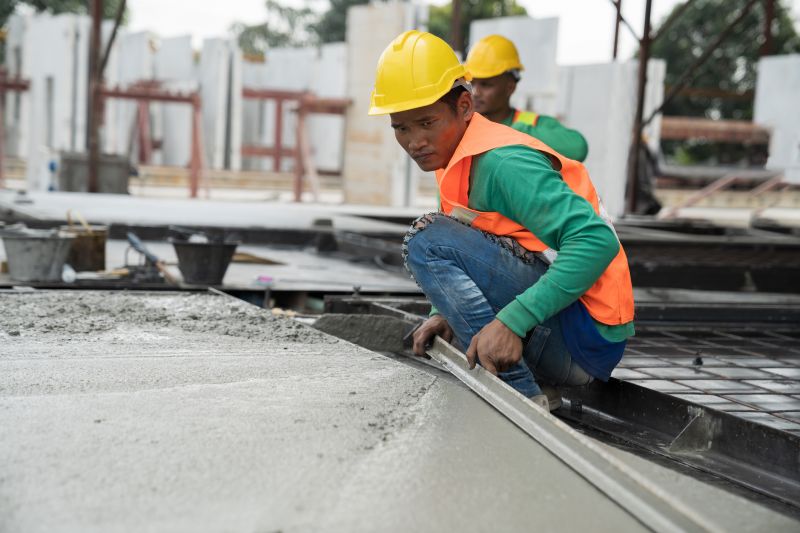
Local contractors who provide slab installation services are experienced in working with different types of terrain and property layouts. They can assist with various projects, whether installing a new concrete slab or replacing an existing one. Property owners can expect these service providers to offer practical solutions tailored to specific needs, ensuring the work is completed according to standard practices and local conditions.
This guide provides helpful information to understand the key aspects of slab installation projects. It assists in comparing local contractors and understanding what to expect from different service providers. The goal is to help visitors gather the basics needed to connect with qualified local pros for their specific needs.